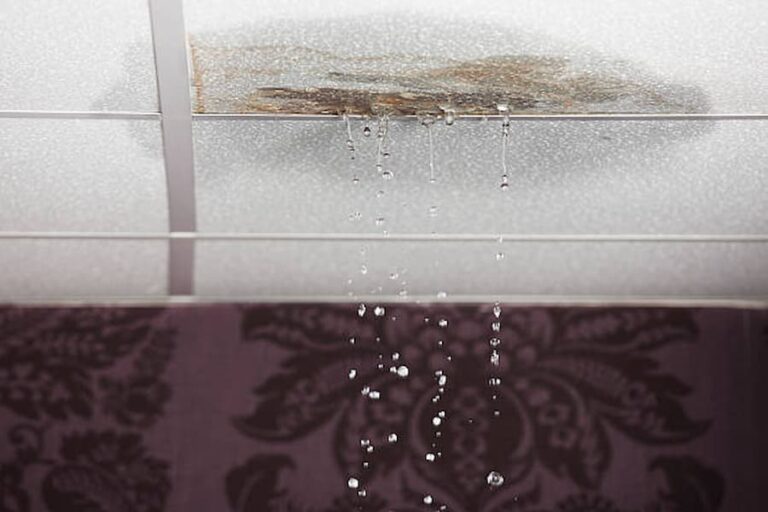
Fix a Leaky Camper Roof: A Step-by-Step Guide
A leaky camper roof can be a real downer, but don’t let it ruin your next camping trip! With some effort and the right approach, you can tackle this problem and get your camper back in top shape. do you know how to fix a leaky camper roof?
This guide will walk you through the steps of fixing a leaky camper roof, from finding the culprit to sealing it up for good.
Step 1: Locate the Leak – Be a Roof Detective
The first step is to identify the source of the leak. Grab a flashlight and start your detective work:
- Inside the Camper: Inspect the interior for signs of water damage, like damp spots, stains, or soft areas on walls, ceilings, and floors. These will give you clues about the leak’s location on the roof.
- Outside the Camper: Safely climb onto your camper’s roof (with someone spotting you) and examine the surface. Pay close attention to areas around vents, skylights, air conditioners, and other protrusions, as these are common entry points for water. Look for cracks, gaps, or any signs of deterioration.
- Seek Help if Needed: If you’re struggling to find the leak, don’t hesitate to call in a professional for a more thorough inspection. They have the expertise and tools to pinpoint the leak quickly and accurately.
Step 2: Apply a Temporary Fix – Buy Yourself Some Time
Before starting major repairs, it’s crucial to prevent further water damage. Here’s how to create a temporary shield for your camper:
- Get a Tarp: Purchase a large, weatherproof tarp that covers your entire camper roof.
- Secure the Tarp: Use ropes or straps to securely fasten the tarp to the camper’s frame, ensuring it’s taut and won’t flap in the wind.
- Breathability is Key: While you want to keep water out, it’s equally important to allow trapped moisture to escape. Create small ventilation holes in the tarp to prevent mold or mildew growth.
Step 3: Clear the Roof – Prepare for the Patch Up
Now it’s time to prepare the roof for the main repair. This involves removing any objects and the old roofing materials:
- Remove Rooftop Objects: Carefully remove any antennas, air conditioners, vents, or other objects mounted on the roof. Label them clearly for easy reinstallation later.
- Strip the Old Materials: Using appropriate tools and following safety precautions, remove the old rubber membrane and underlayment sheeting from the roof. Be careful not to damage the underlying structure of the camper.
Step 4: Apply New Membrane and Sheeting – The New Protective Layers
With the old materials removed, you can now install the new protective layers:
- Install Underlayment: Lay down a new layer of underlayment sheeting over the entire roof surface. This material acts as a secondary barrier against water infiltration.
- Apply New Membrane: Over the underlayment, carefully roll out the new rubber membrane, ensuring it covers the entire roof surface. Follow the manufacturer’s instructions for proper installation and sealing.
- Reinstall Objects: Once the new membrane is securely in place, reinstall the previously removed rooftop objects like vents, air conditioners, and antennas, following the original installation procedures.
Step 5: Seal It Up Tight – Prevent Future Leaks
The final step involves creating a watertight seal around all seams and joints to prevent future leaks:
- Sealant Selection: Choose a high-quality sealant specifically designed for RV roofs. These sealants are formulated to withstand harsh weather conditions and remain flexible to accommodate roof movement.
- Seal Every Seam: Using a caulking gun, apply the sealant around all seams, joints, and edges, including areas around vents, skylights, air conditioners, and where the new membrane meets the walls of the camper.
- Pay Extra Attention: Be especially meticulous when sealing around corners, protrusions, and other areas where water might try to sneak through.
Remember:
- Safety First: Always prioritize safety when working on your camper roof. Ensure you have a sturdy ladder, wear proper footwear for climbing, and have someone assist you for support.
- Seek Professional Help: If you’re unsure about any step in the process, don’t hesitate to consult a professional for guidance or assistance.
By following these steps and taking the necessary precautions, you can successfully fix your leaky camper roof and get back to enjoying your outdoor adventures without worry!


